JAVASCIPT JOURNEY - DAY 20
Published
•2 min readS
I am about being happy , and my happiness revolves around the Execution Context of web development.
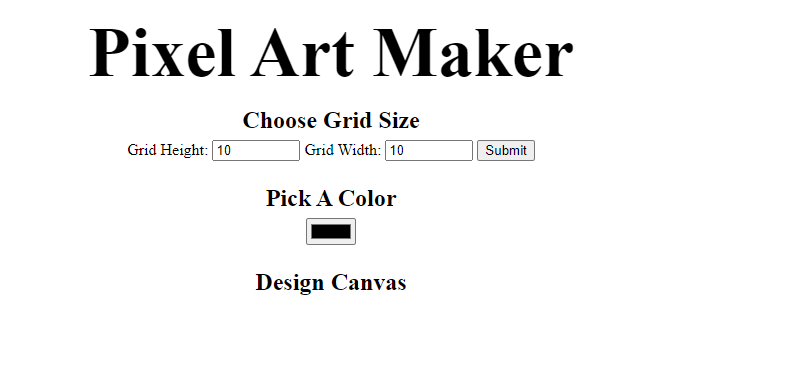
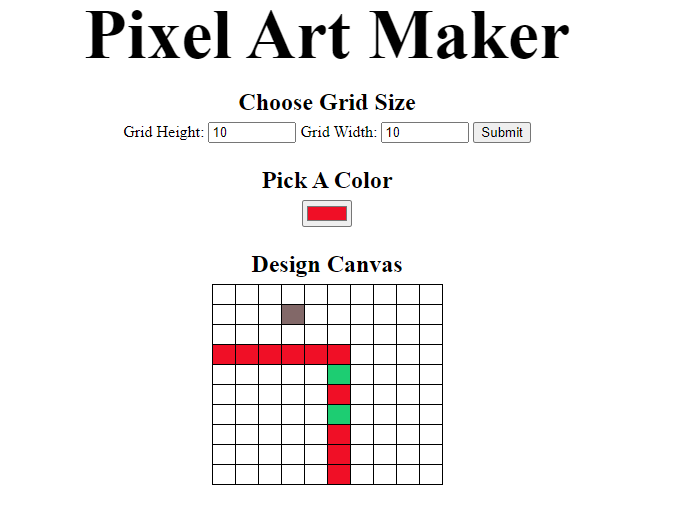
CHAPTER 20 :PIXEL EDITOR
Index.html
<!DOCTYPE html>
<html>
<head>
    <title>Pixel Art Maker!</title>
    <link rel="stylesheet" href="https://fonts.googleapis.com/css?family=Monoton">
    <link rel="stylesheet" href="styles.css">
</head>
<body>
    <h1>Pixel Art Maker</h1>

    <h2>Choose Grid Size</h2>
    <form id="sizePicker">
        Grid Height:
        <input type="number" id="inputHeight" name="height" min="1" value="10">
        Grid Width:
        <input type="number" id="inputWidth" name="width" min="1" value="10">
        <input type="submit" id="submitBtn">
    </form>

    <h2>Pick A Color</h2>
    <input type="color" id="colorPicker">

    <h2>Design Canvas</h2>
    <table id="pixelCanvas"></table>

    <script src="designs.js"></script>
</body>
</html>
STYLE.CSS
```body { text-align: center; }
h1 {
font-size: 70px;
margin: 0.2em;
}
h2 { margin: 1em 0 0.25em; }
h2:first-of-type { margin-top: 0.5em; }
table, tr, td { border: 1px solid black; }
table { border-collapse: collapse; margin: 0 auto; }
tr { height: 20px; }
td { width: 20px; }
input[type=number] { width: 6em; }
```
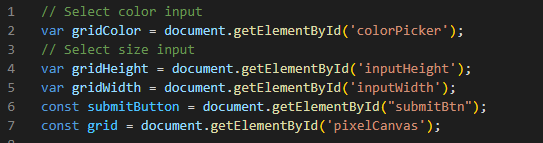
Now comes the main hero: JS FILE:
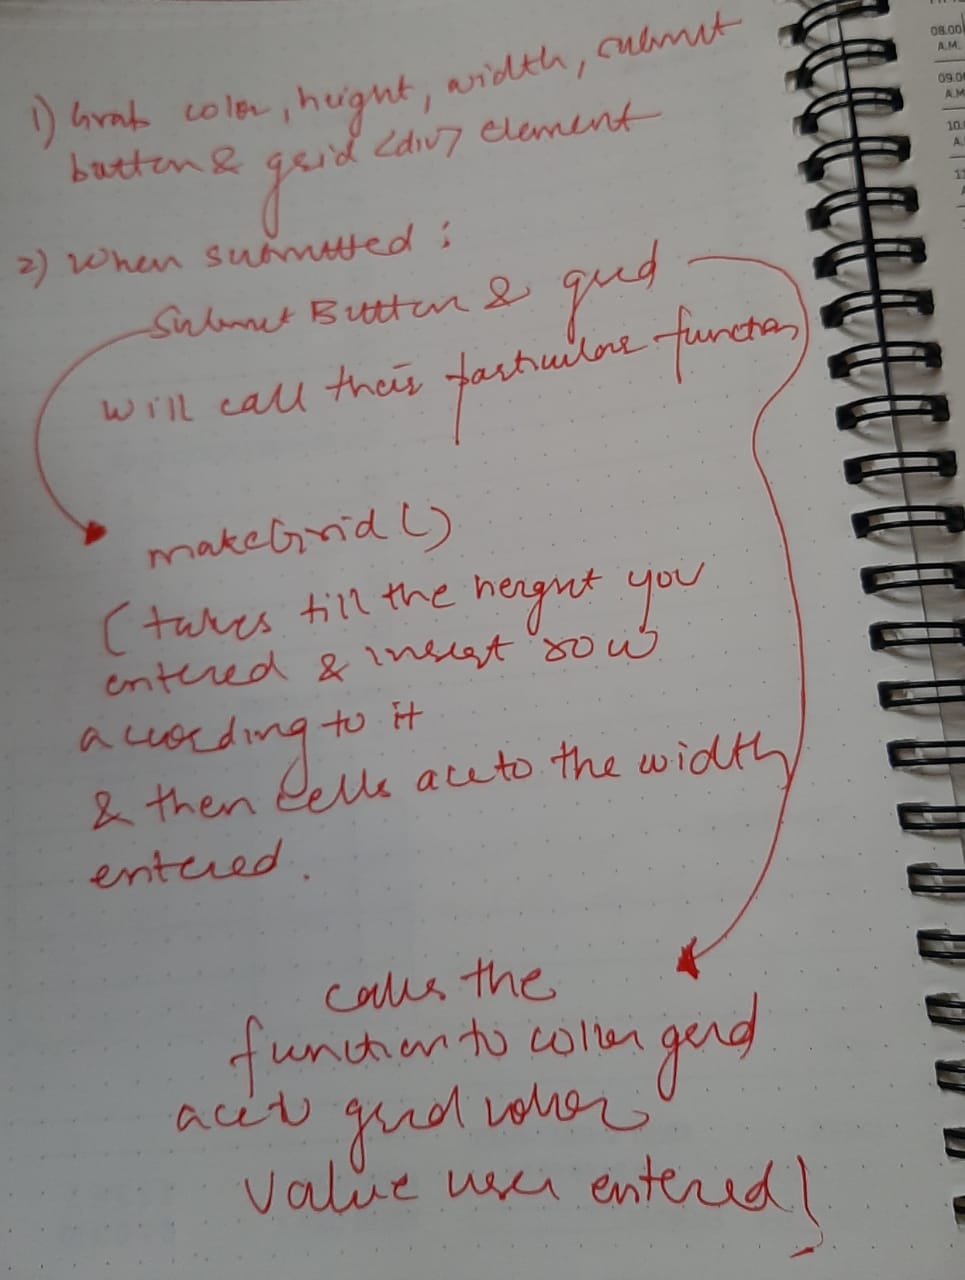
First we grab the elements:
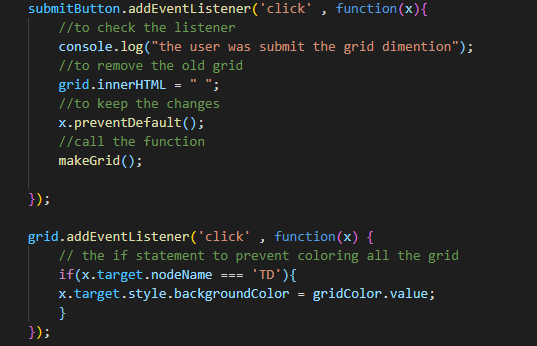
Now When size is submitted by the user, call makeGrid():
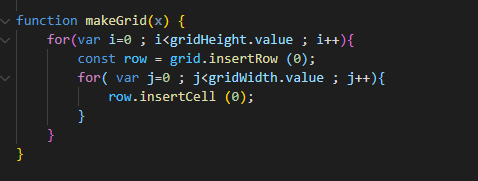
These grabbed elements call make grid() function to make a grid according to the user input values.
Output is :
SUMMARY:
This is how you ca make pretty easy pixel editor
Happy learning!!
